Paper practice
Practise on paper, because the exam is on paper
Print the booklet and a real shading answer sheet, work it in pencil against the clock, then photograph the sheet with your phone. It comes back marked, per section and per skill, the same as a sitting on screen.
The Career Service Examination is a pen-and-paper test. Shading 150 bubbles under time, keeping your place, and not losing a row when you skip a question are all skills, and the first time you practise them should not be on the day.
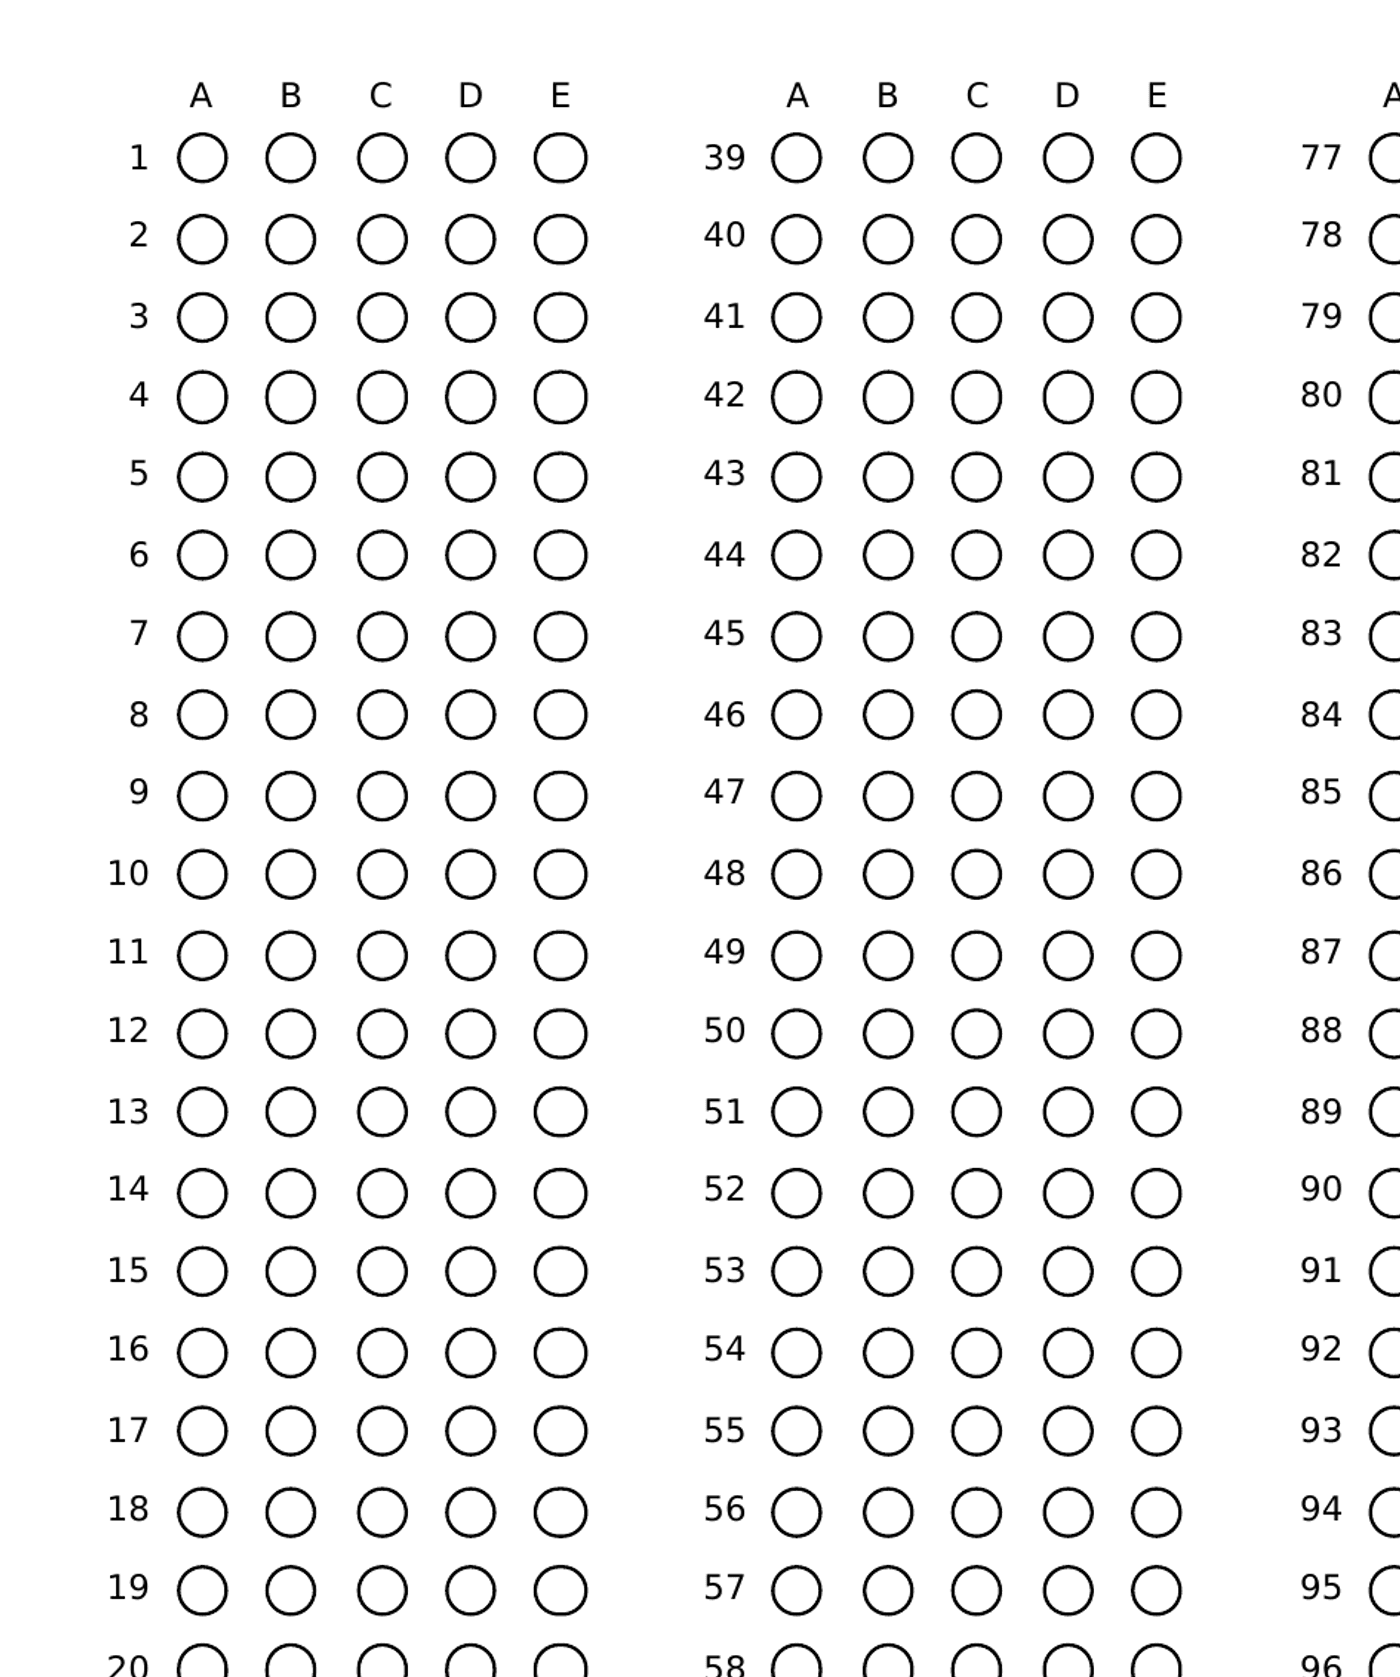
Our own sheet, rendered from the geometry the reader samples. Not a picture of a Commission form: this is an independent practice sheet, and it carries no examinee number, birth date, signature, or thumb mark.
How it works
Print at actual size
A4 or Letter, at 100% - not 'fit to page', which shrinks the sheet by a few millimetres and moves every bubble away from where the reader expects it. All 150 rows fit on one page, so there is no second sheet to keep track of or reconcile afterwards.
Work it in pencil, under time
Fill the bubble rather than ticking or crossing it, exactly as the real instructions require. The booklet is a full-length paper at your level, assembled fresh for that sitting rather than a fixed PDF you could take twice.
Photograph the sheet
An ordinary phone photo is enough. The four black squares in the corners let the reader work out the angle and flatten the image, so the sheet does not have to be square to the camera - but it does have to be entirely in frame, flat, and in focus, and you will be told plainly if it is not.
Check what it read, then save
You get the reading back as a proposal, not a verdict. Anything faint, double-marked, or borderline is flagged as ambiguous rather than guessed at, and you correct it before anything is recorded. Nothing is saved until you press save.
Why we built the reader rather than an answer key
Marking 150 answers by hand against a key takes twenty minutes and you will not do it twice. More to the point, self-marking quietly launders your mistakes: it is remarkably easy to read your own faint mark as the answer you meant.
The sheet and the reader are generated from one description of where every bubble sits, in millimetres, so the printed page and the sampling points cannot drift apart. It is tested against sheets rendered as a camera would have seen them — rotated, keystoned, noisy, faintly marked — with the answers known exactly, and against a real printed page at 150 dpi, where it read 150 of 150 rows correctly.
It is also why the ambiguous band exists. A reader that always commits to an answer will be wrong silently; one that says “I cannot tell what you meant here” hands the decision back to the only person who knows.
Before you print
- This is practice material, not a Commission form, and it is not a replica of one. Do not bring it to an examination centre.
- Print at 100% on A4 or Letter. Scaling is the single thing that stops a sheet reading.
- Use a pencil you can erase cleanly. A half-erased mark is what the ambiguous band is for, and correcting it afterwards is slower than shading it properly.
- Keep the whole sheet in the photograph, including all four corner squares.
Printable papers are part of a paid plan. The 50-question diagnostic is free and runs on screen — start there, since it tells you what to practise before you print anything. See pricing.